

I am so excited to be nearing the finish of the Seuss quilt for Princess Two. This is the first time I have followed a quilt from start to finish. I usually just make one video of a project and share about how I do things but I figured that I may need to share the "process" of how I do things and think things through so I have a few videos to show how I do it.
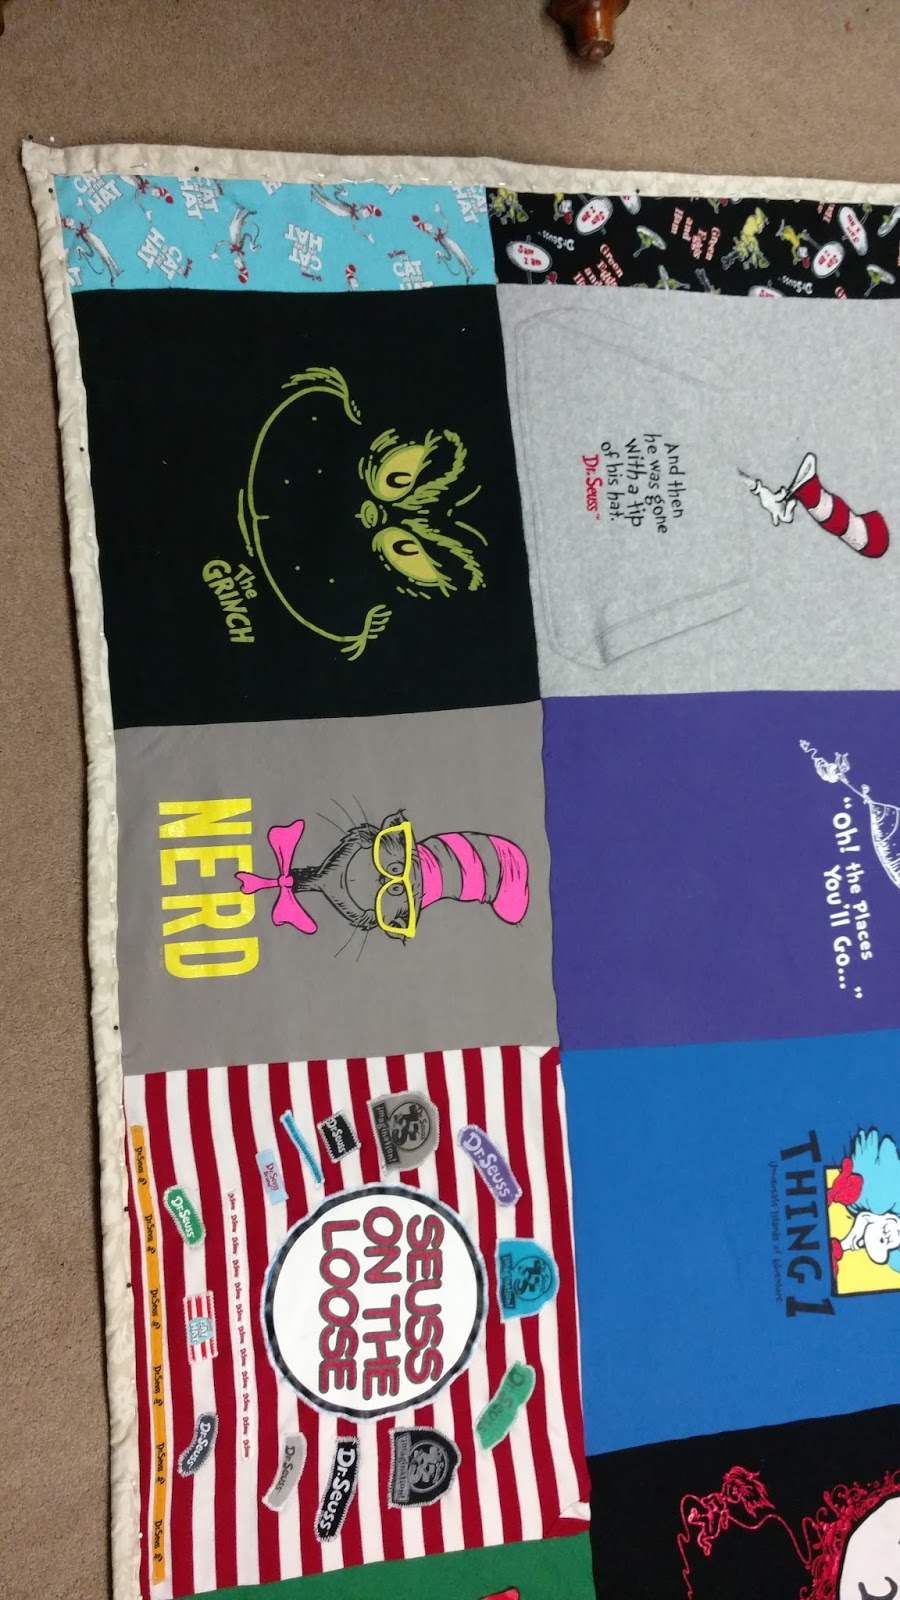 After getting all the rows sewed and then sewing the rows together, you put the backing / binding and fill into the quilt. I usually lay the sheet I am going to use down on the carpet after washing and drying it and if it is a wrinkly cotton, I sometimes will iron the sheet I am using for backing the quilt.
 When the back sheet or fabric is ready, place it Right side DOWN as this will be the bottom of the quilt. I have to say I have laid it down with the pretty side up and gotten the whole thing ready only to realize when I was folding it over to pin the back binding over on the front that I had done it wrong. It happens when I work tired. SO, make sure that the sheet is pretty side down!
Once you have everything nice and tight, cut the backing sheet 2 inches bigger than the quilt top. You can choose to either cut the batting to the top size of the quilt or you can leave it bigger and fold it over with the binding edge. I prefer to leave it just smaller than the back so that I can sew it into the binding which gives stability to the batting attaching it to the backing and front. I try and pin carefully without pulling as I don't want to move the top or bottom or have it be tighter on the top than the bottom which gives a twist to the quilt so just fold it over easily without pulling on anything. I pin the entire edge and try really hard to make all the sides even so that one edge isn't thin and the other side is wide.

DON'T sew the edges or binding on until you have tied the quilt! I will share that tomorrow.
Have a Blessed Day!
No comments:
Post a Comment